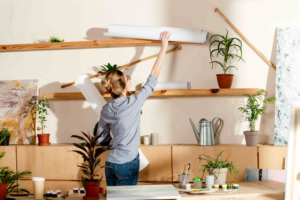
Want a quick home upgrade that looks great and won’t break the bank? Floating shelves are your answer. They’re clean, modern, and super handy — plus, you don’t need to be a pro to pull them off.
In this guide, I’ll walk you through building shelves that look sharp, hold up over time, and actually make your space more functional — all in plain English, without the fluff. I’ve expanded the whole thing, made it even easier to follow, and added more detail so you leave here feeling confident.
What Are Floating Shelves, Really?
Floating shelves are the kind of shelves that don’t have any visible brackets or supports. They just look like they’re stuck to the wall like magic. But of course, there’s a trick. Inside the shelf, there’s a hidden wooden or metal support piece — usually called a cleat — that gives it strength.
You can use these shelves anywhere: in your living room to display decor, in your kitchen for storing mugs and dishes, or even in your garage to hold tools. If you build them strong and anchor them correctly, they’ll hold a surprising amount of weight.
They’re not just good-looking — they’re practical, too.
DIY Floating Shelves Without Brackets
If you’re after that clean, bracket-free look — like shelves that just float off the wall — this is the method for you. These shelves don’t need external hardware showing. Instead, you hide all the support using a wooden cleat system that fits inside the shelf box.
By anchoring the cleat directly into studs (or using heavy-duty anchors when studs aren’t available), and then sliding the hollow shelf box over it, you create a floating effect that’s not only stylish but very stable.
This setup gives you more design freedom. It’s perfect for minimal, modern rooms or spaces where you don’t want bulky hardware stealing the show.
Tip: The deeper or heavier the shelf, the more support your cleat needs — so build accordingly.
Tools and Stuff You’ll Need
Let’s keep this simple. You don’t need a whole workshop. Just a few tools and some materials you can get from any hardware store.
Tools:
- Stud finder (helps you find the wood inside the wall)
- Level (to make sure your shelf isn’t crooked)
- Measuring tape
- Drill with drill bits and driver bits
- Saw (circular saw or even a hand saw works)
- Sandpaper or sanding block
- Clamps (to hold stuff steady while glue dries)
Materials:
- Wood for the cleat (usually 2×2 or 2×3)
- Wood for the shelf box (1×6, 1×8, or plywood)
- Screws (2 to 2.5 inches long is ideal)
- Wall anchors (only if you can’t find studs)
- Paint or stain and brush or rag
Optional but helpful: finish nails or brad nailer, wood filler for covering any small gaps, and corner clamps for sharper edges.
Let’s Build: Step-by-Step DIY Floating Shelf
1. Find the Wall Studs
This is the part most people skip — and it’s where things go wrong. You want your shelf to be super solid, right? That means anchoring it into the wooden studs hidden behind the wall. Use a stud finder and mark where they are.
If your shelf is long, you’ll probably hit two studs. That’s perfect. If it’s short and hits only one, you’ll need heavy-duty anchors to help support it.
2. Cut the Cleat
The cleat is the hidden support your shelf will slide onto. Cut a piece of 2×2 or 2×3 wood to the same length as your shelf. If you want even more support, add two short pieces to make a U-shape. That gives you extra grip on all sides.
Tip: Dry fit it on the wall and check with a level before screwing anything in.
3. Attach the Cleat to the Wall
Use your level again, hold the cleat up against the wall, and drill pilot holes where it hits the studs. Then screw it in. Use at least two or three screws, depending on the length.
If you have to use wall anchors, choose the kind that expands behind the drywall and can handle 50+ lbs.
4. Build the Shelf Box
Here’s where the magic happens. You’ll build a three-sided box: top, bottom, and front. If your wood is already cut to size, great. If not, cut it now.
Glue the pieces together, clamp them, and let them dry. If you want to speed it up, use some finish nails to hold everything in place while the glue sets.
Once dry, sand all the edges until they’re smooth and look like one solid piece.
5. Slide the Shelf Over the Cleat
This is the fun part. Take your hollow shelf box and slide it onto the cleat. It should fit snugly. If it’s too loose, you can shim the inside. If it’s too tight, sand the cleat edges a little.
Once it’s in place, screw the shelf into the cleat from the top or bottom. Try to hide the screws or fill the holes afterward.
6. Finish It
Now it’s time to make it pretty. Wipe it down with a clean cloth. Choose a stain or paint that matches your style. For kitchens and bathrooms, go with a sealed finish that can handle moisture.
That’s it. Shelf done.
Want It to Hold More? Here’s How
If you want your shelves to handle serious weight — like stacks of books or heavy dishes — here are some tips:
- Use 2x4s instead of 2x2s for the cleat
- Use thick plywood or hardwood for the shelf box
- Add side supports inside the shelf box
- Anchor directly into two or more studs
- Use long screws (2.5” to 3”) and double-check everything with a level
You can also use metal brackets hidden inside the shelf — they’re available online. They’re more expensive, but they work great.
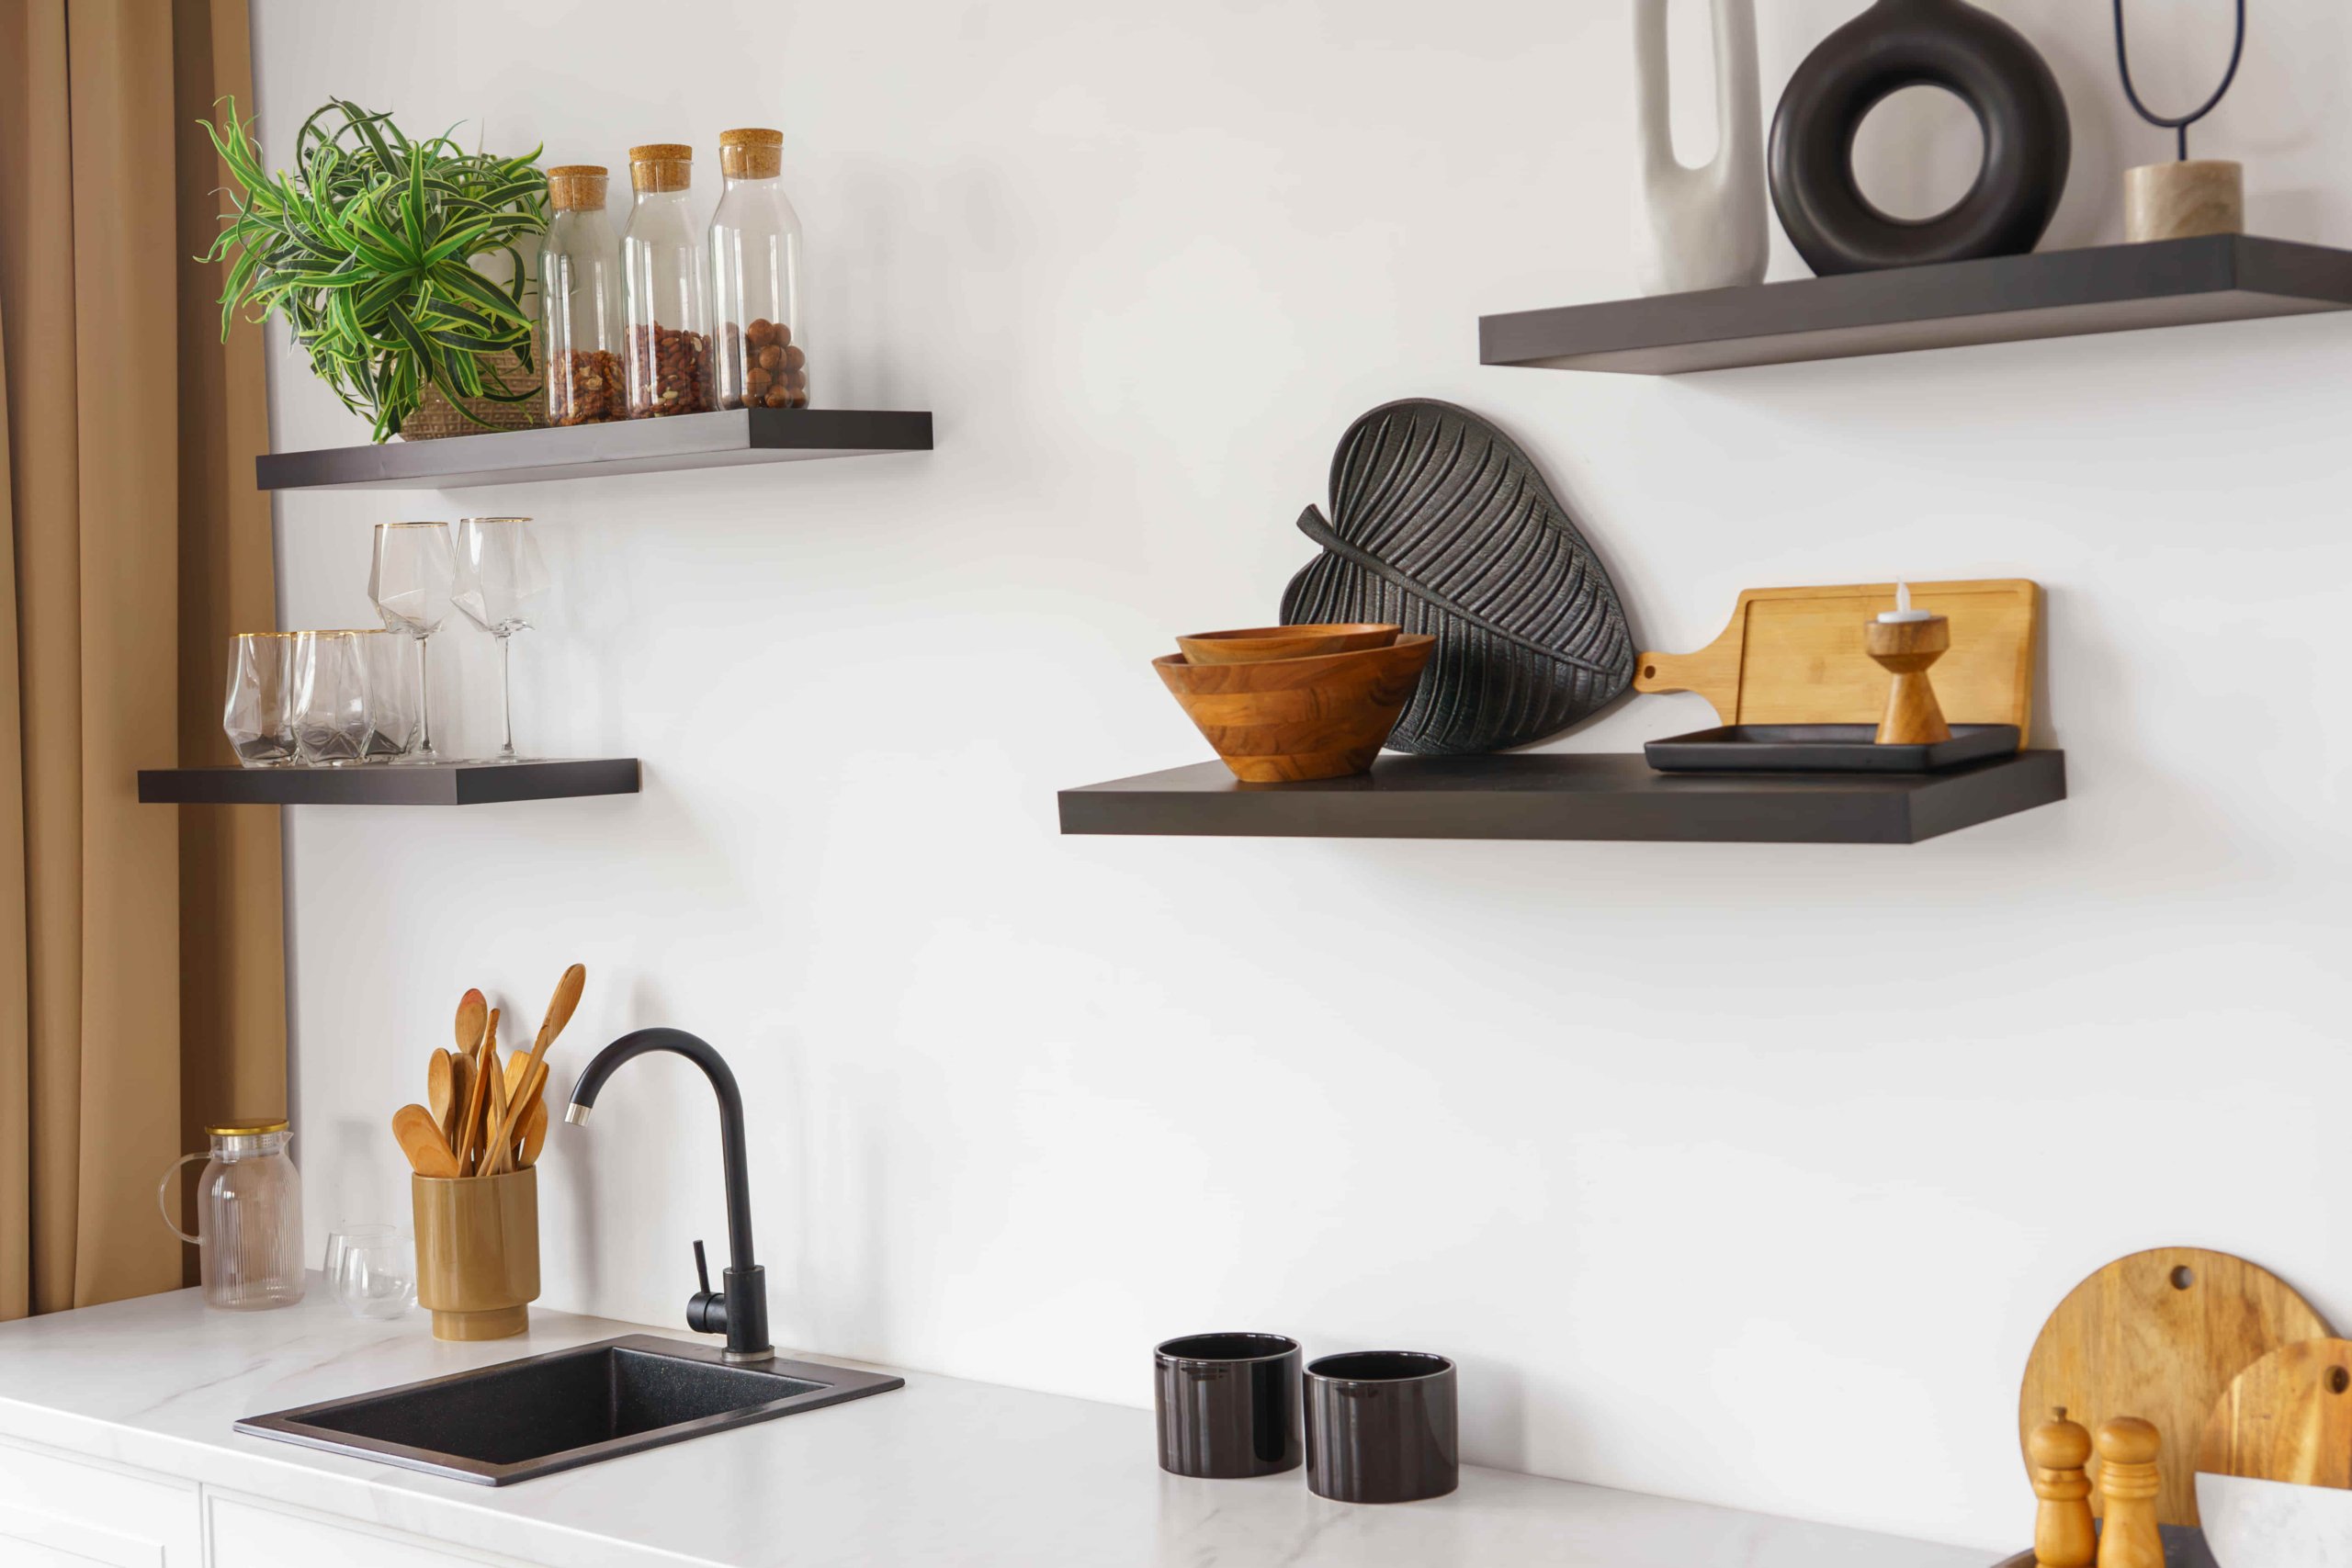
Room-by-Room Tips (Real-Life Stuff That Works)
Kitchen
Floating shelves in the kitchen look amazing and are actually super useful. Just remember: kitchens are messy and wet.
- Seal the wood really well
- Keep shelves shorter so they don’t sag
- Don’t overload them with heavy plates — spread the weight
- Use them for mugs, jars, or even a small coffee station
Bathroom
Bathrooms are humid, so wood can warp. Use waterproof plywood or hardwood sealed with polyurethane.
- Keep shelves higher up, above the toilet or towel rack
- Style with folded towels, candles, and a small plant
- Avoid placing them right next to the shower — moisture is the enemy
Living Room
This is where you can really play with style. Mix decor, books, and lighting.
- Use soft white or warm light LED strips under the shelf
- Display a few of your favorite books, a candle, and one personal item
- Keep some space between items — clutter ruins the look
Garage or Workshop
If you’re building shelves for tools or bins, go heavy-duty.
- Anchor every cleat into at least two studs
- Use thicker wood (even 2x10s)
- Test the weight before trusting it with something expensive
Shelf Styles That Are Big in 2025
Let’s be honest — you want your shelves to work, but you also want them to look good. Here’s what’s trending now:
- Chunky wood: Thicker boards (2” or more) give a solid, custom feel
- Live edge: The natural curve of the wood left uncut — great in rustic spaces
- Matte black paint: Looks clean and modern, especially against white or natural walls
- Hidden LED lighting: Add light underneath for a glowing effect
- Two-tone shelves: Paint the shelf one color and leave the cleat natural or stained
Quick Look: How Much Weight Can My Shelf Hold?
| Shelf Size | Anchored in Studs? | Max Weight |
| 6” deep | Yes | 20–30 lbs |
| 10” deep | Yes | 40–50 lbs |
| 10” deep | No (anchors) | 15–25 lbs |
| 12”+ deep | Yes with supports | 60–75 lbs |
Remember: how much it can hold depends on the wood, the support, and how well it’s installed. Always test before loading it up.
What to Avoid (So You Don’t Regret It Later)

A lot of DIY shelf fails come from rushing. Avoid these mistakes:
- Not checking if the wall is level — your shelf will always look off
- Skipping the studs — wall anchors help, but studs are solid
- Using thin, bendy wood — especially with wide shelves
- Making it too deep — over 12” without side supports can sag
- Painting before building — paint last to avoid touch-ups
How to Style Your Shelves (Without Overthinking It)
Styling floating shelves is where the fun begins. Here’s a cheat code that always works:
- Start with balance: Place something tall on one end, then balance with something shorter on the other
- Use odd numbers: Decor in sets of 3 or 5 looks better than 2 or 4
- Add a plant: Always adds life
- Add something personal: A photo, framed quote, or travel souvenir
- Mix textures: Wood, glass, ceramic, and fabric all work together
Also: don’t pack it full. Leave some breathing room — your eye needs space to rest.
Real Talk: FAQs
Can I hang floating shelves without studs?
Yes, but only if the shelf is short and light. Use strong anchors — the kind that expands inside the wall — and test it before putting anything valuable on top.
What’s the easiest wood to work with?
Pine is easy to cut and sand, and it’s affordable. Just be careful — it can dent easily. For something stronger and smoother, go with poplar or oak.
How long will it take to build a floating shelf?
If you’ve got the tools and materials ready, about 2–3 hours including drying time. First-time builders might need a little longer.
Can I install them on tile walls?
You can, but go slow and steady. Use a diamond-tip drill bit, mark with tape, and drill without pressure. Always go into a stud or use a proper anchor.
Wrap-Up: Is It Worth the Effort?
Definitely. Floating shelves are one of those projects where you don’t need a lot of money or experience — just a bit of time and effort.
You get a cleaner look, more space, and a custom solution that actually fits your home. And once you build one, you’ll probably want to build more.
So if you’re ready to give your space a little love, this is your sign to grab a drill and go for it. You’ve got this.
Check out our full guide on DIY Flooring Trends