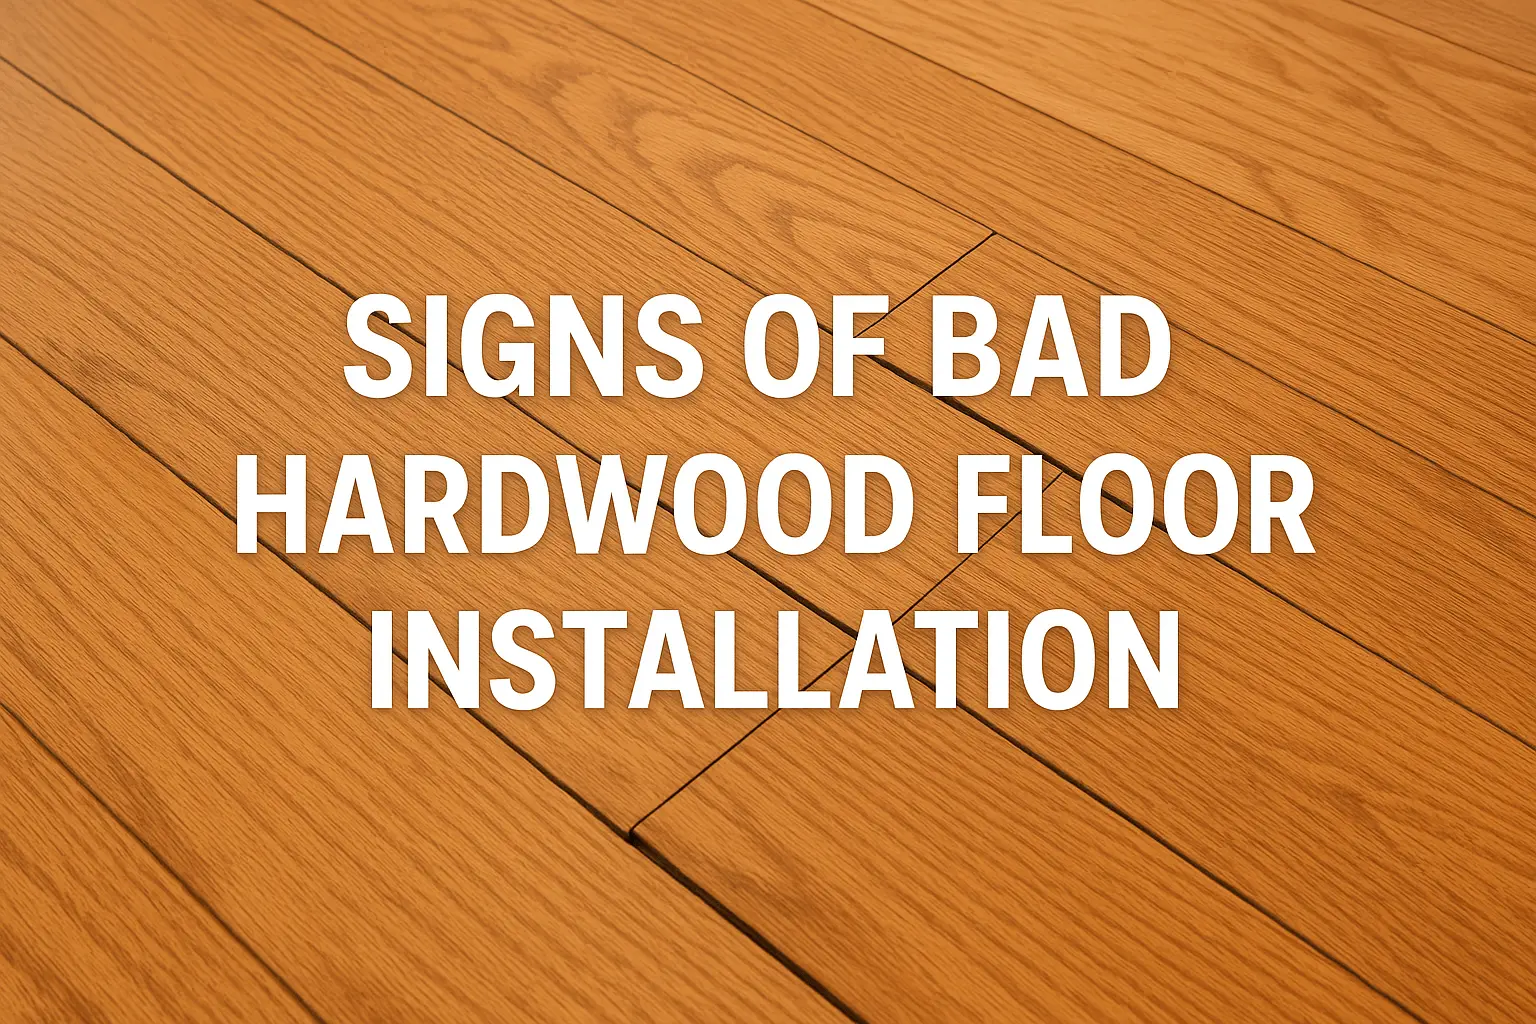
The signs of bad hardwood floor installation include uneven boards and visible gaps between planks, buckling or warping wood, loud creaking or squeaking when you walk, and misaligned or crooked board patterns. In other words, an unstable, noisy floor with irregular seams and finish flaws is a major red flag. A well-installed hardwood floor should lie flat, look even, and be quiet underfoot. If you notice any of these symptoms – uneven hardwood floors with gaps in the flooring, popping or creaking wood floors, or misaligned boards, it’s likely the installation was done improperly.
Common Visual and Structural Flaws
Uneven or Misaligned Planks:
Boards should form a smooth, continuous surface. If planks sit at different heights (a lumpy or bumpy feel) or run off-pattern (crooked rows), that’s a sign of poor workmanship. Uneven hardwood floors with boards jutting up or down can create tripping hazards and uneven wear.
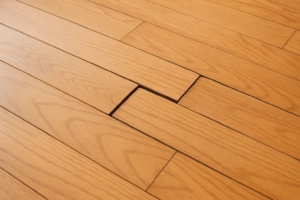
Gaps Between Boards
Small uniform gaps in winter are normal, but large or inconsistent gaps are not. Wide seams or “fishmouth” gaps (wider at one end) usually mean the installer rushed or skipped acclimation and expansion spacing. Visible gaps in the flooring can also invite dirt and moisture, further damaging the floor.
Buckling, Cupping, or Warping:
If sections of the floor look wavy or bulge up, the wood is buckling. This often happens when there were no proper expansion gaps or moisture wasn’t controlled. Such warped planks are a serious issue – the floor should lie flat.
Excess Glue or Loose Nails:
Glue oozing between boards or noisy, hollow spots can mean too much adhesive or loose fasteners were used. Creaks and squeaks often result when nails or staples aren’t driven in correctly. These small noises are telltale poor installation signs.
Inconsistent Finish:
A sloppy finish (patchy stain, rough sanding marks, or mismatched color) indicates shortcuts. The coating should be smooth and uniform; any inconsistencies point to rushed or unskilled work.
Most of these flaws go beyond normal wear and are directly caused by faulty installation. For example, a floor buckling upward at the seams is not “settling” – it means something was wrong with the base or expansion spaces. In sum, any obvious aesthetic or structural defect (uneven planks, gaps, creaks, or finish problems) is a clue that the installer cut corners.
How to Test Your Floor
If you suspect poor installation, conduct a few simple checks:
- Level Check: Place a long straightedge or level across the floor in different spots. Gaps under the level or rocking indicates uneven flooring due to poor subfloor prep or installation.
- Inspect Expansion Gaps: There should be an intentional ¼-inch gap along walls and fixed objects. If there are none and the boards butt against trim, your floor will buckle or press against moldings. Feel around edges to verify uniform space.
- Walk Test: Walk slowly over the entire floor and listen. Creaks, pops or hollow thuds underfoot suggest loose boards or an improperly secured subfloor. Try pressing down on random planks with your foot – any excessive give can show missing adhesive or staples.
- Moisture Check: Use a moisture meter on the wood and subfloor. Readings above 12% are problematic. Too much moisture or not allowing the wood to acclimate will warp boards later. If moisture levels are off, the installation was done without proper testing.
- Visual Scan: Carefully look at the entire floor. Are the board ends staggered properly (no repeating end-joints)? Is the color uniform, or are there spots where stain/finish is blotchy? Misaligned seams or inconsistent finish immediately flag installation errors.
By combining these tests, you can confirm if something’s wrong. For example, unexpected loud squeaks plus visible gaps almost always mean fastening or acclimation was flawed. Testing early can save major headaches.
Normal Settling vs Poor Workmanship
New hardwood does naturally adjust over time, but there’s a difference between normal movement and installation problems. In dry winter months, it’s normal for hardwood to shrink slightly. Small uniform gaps often appear between boards in winter and then close up in summer humidity. According to flooring experts, these seasonal gaps are expected (and won’t trigger failure or inspection concern) as long as they are consistent and minor.
On the other hand, large or irregular gaps that stay open, floors buckling or cupping, and planks separating unevenly are not just “settling”. These usually mean moisture levels were wrong or expansion gaps were missing during installation.
For instance, if one corner of the room is bulging but others are fine, that points to poor workmanship rather than uniform settling. Similarly, if gaps appear suddenly after finishing the floor (and don’t shrink later), it indicates inadequate acclimation or a skipped moisture test.
In short: minor seasonal shrinkage is normal (and often barely noticeable), but significant unevenness, buckling, or erratic gaps signal an installation defect. If you’re unsure, compare across seasons. A well-done floor will return mostly flat and tight once temperature and humidity stabilize; a badly done one will remain uneven or get worse.
What to Do If You Suspect Poor Installation
If you’ve identified warning signs, act before things get worse:
- Document Everything: Take clear photos of the defects (gaps, buckles, gaps to wall, etc.) and note when they appeared. This helps in discussions with installers or warranty claims.
- Contact the Installer: Reach out to the flooring contractor or installer immediately. Reputable installers will inspect the issues and are often obliged to correct workmanship errors under warranty. Explain the problems clearly (with photos) and request a resolution.
- Get a Professional Opinion: If the installer is unresponsive or you want a second view, hire an independent flooring expert. They can determine if the problems stem from installation errors or environmental factors.
- Repair vs. Replace: Depending on severity, fixes range from re-fastening loose boards and filling minor gaps to replacing sections. For example, small squeaks or loose boards can sometimes be fixed by adding nails or applying wood filler. But major issues like widespread buckling usually require pulling out and reinstalling the affected planks.
- Pressure the Issue if Needed: If the installer refuses to address clear mistakes, escalate: check your contract or warranty, mention industry standards, or consider consumer protection options (licensing board, trade association, etc.).
Above all, don’t ignore the problem. Even if you can live with minor squeaks or gaps, they often worsen. It’s better to fix poor installation early, rather than suffer a total replacement later. Flooring professionals warn that any of these problems – persistent creaks, open gaps, or warped boards – should prompt immediate corrective action.
How to Avoid These Issues in the Future
Prevention starts before the first plank is laid:
- Hire Reputable Installers: Research contractors thoroughly – check licenses, insurance, and online reviews. Ask for references or to see past work. A trustworthy installer invests in quality, not shortcuts.
- Verify Material Acclimation: Ensure hardwood is stored in the room for several days before installation. The wood’s moisture content should be measured and within 6–9% (with the subfloor within ~2% of that). Never allow installation over a wet subfloor.
- Insist on Proper Subfloor Prep: The subfloor must be level, clean, and fully dry (under 12% moisture) before laying any boards. Even small dips or bumps should be levelled out.
- Check Expansion Gaps: Confirm that the installer plans for the correct expansion gap (about ¼ inch) around all walls and fixed objects. This allows the wood to expand and prevents buckling.
- Supervise or Inspect During Installation: You don’t need to micromanage, but periodically walk the site. Look at the pattern alignment, nail spacing, and glue usage. Asking questions during installation (e.g. “Did you check moisture levels?”) can catch errors early.
- Final Walk-through: After the job is done, inspect the floor closely before making final payment. Look for uneven spots, missing gaps, or finish problems. A reputable installer will welcome this inspection as part of quality service.
- Maintain Proper Humidity: Once installed, keep your home’s relative humidity between about 35–55%. A good HVAC or a humidifier/dehumidifier helps prevent the wood from moving excessively.
Following these best practices greatly reduces the chance of future problems. Essentially, knowledge and vigilance are key – a little effort up front (choosing pros, checking moisture and leveling) saves a lot of headaches later. You can also learn about DIY flooring Ideas on a budget to get the most affordable options for your home
FAQ
Q: What are the most common signs of a bad hardwood floor installation?
A: The most obvious signs are visual and acoustic. Uneven or wavy boards, large gaps between planks, or boards running off the pattern are tell-tale flaws. In short, any persistent bumps, gaps, or noises that weren’t part of the floor’s design usually point to poor installation.
Q: Why is my new hardwood floor squeaking?
A: Squeaks occur when boards aren’t secured properly. Common causes are missing or loose nails/staples and an uneven subfloor.
Q: Is it normal for hardwood floors to have small gaps?
A: Small, uniform gaps in hardwood floors during dry winter months are normal. Wood shrinks as indoor air dries, so minor gaps between boards often appear in winter and close up in summer.
Q: What should I do if I think my hardwood was installed incorrectly?
A: Document the issues (take photos of gaps, buckles, etc.) and contact the installer immediately. A reputable installer should inspect and correct any workmanship problems, often under warranty.
Q: How can I avoid these installation issues in the future?
A: Prevention starts with proper planning and quality contractors. Always hire an experienced, licensed flooring installer with good reviews. Before installation, ensure the wood has been acclimated to the room’s humidity and the subfloor is level and dry (under ~12% moisture). During installation, verify they leave the recommended expansion gap and use correct fasteners. Finally, inspect the floor closely when it’s finished and before closing out the job. Following industry best practices and being vigilant will help you avoid most hardwood floor problems.
About the Author
Written by Waqar Ahmad Khan, founder of DIY Flooring Ideas, a trusted resource for home improvement and flooring tips. Waqar shares practical, hands-on advice for homeowners, renters, and DIYers who want to make their spaces beautiful, durable, and affordable. From flooring repairs and installations to creative renovation ideas, every guide is built on real experience, expert insights, and tested DIY methods.
Follow Waqar’s latest tutorials on DIYFlooringIdeas.com for more home improvement inspiration.