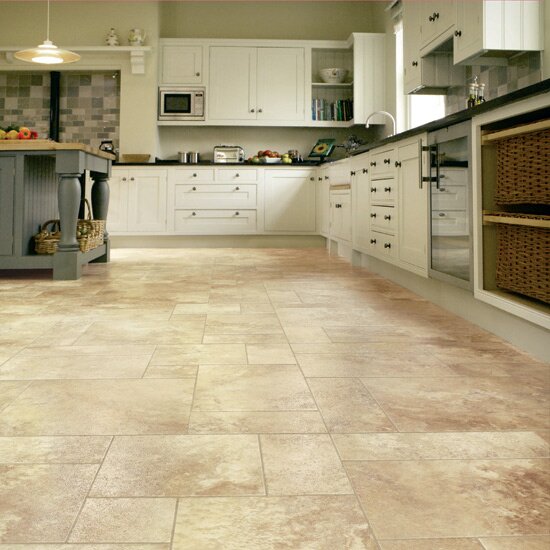
During a cold weather, we do not want to step into a floor that will chill us. But even if it is not winter yet, during the mornings when we step into a tile floor, we may experience an icy feeling. Do you want to change that experience? Do you also want to walk about the house with a soft feeling under your feet?
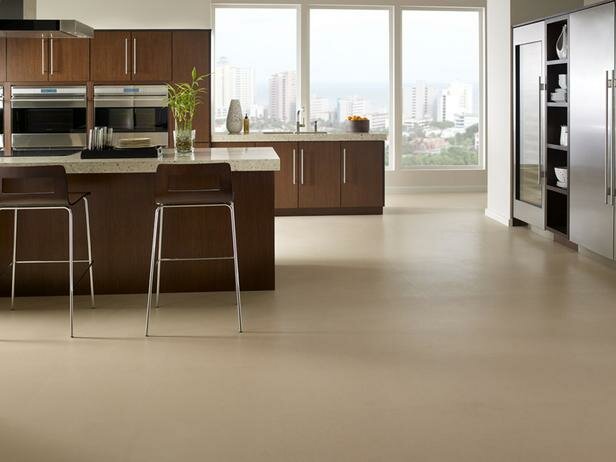
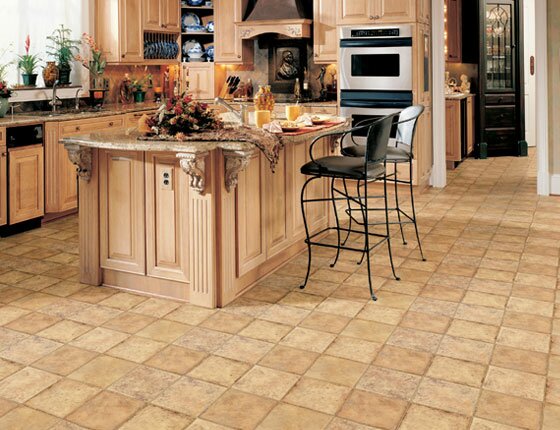
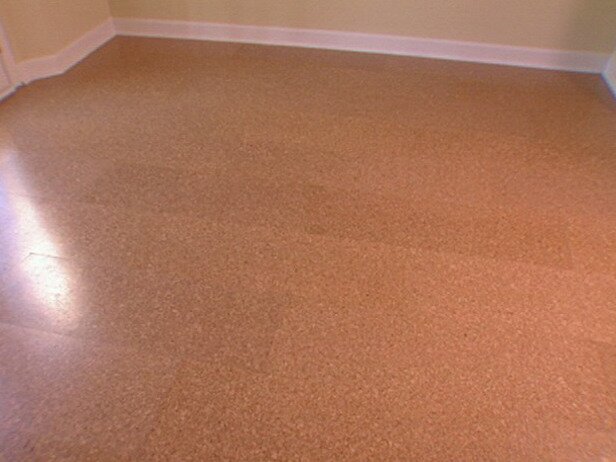
Here comes the cork flooring. Installing cork flooring is easy. You can transform your old kitchen floor into a stylish one in a matter of hours. So grab your tools and let’s have a DIY cork flooring project.
DIY Cork Flooring: Overview
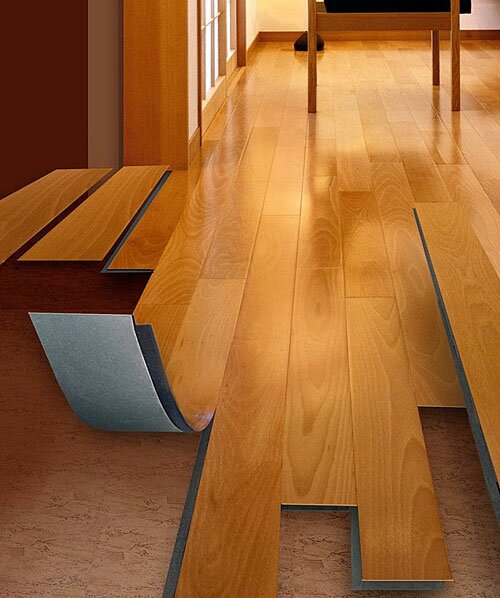
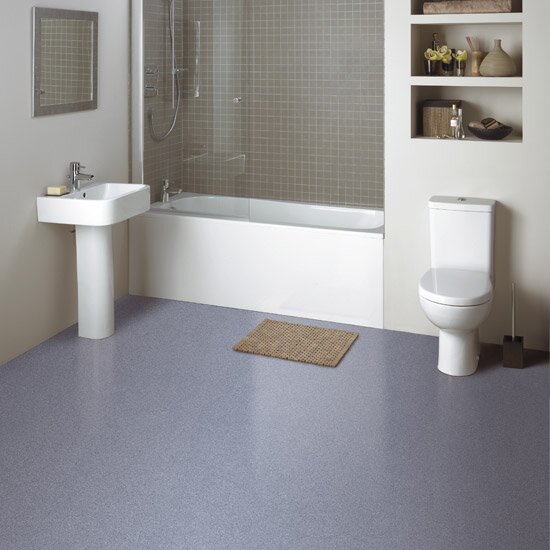
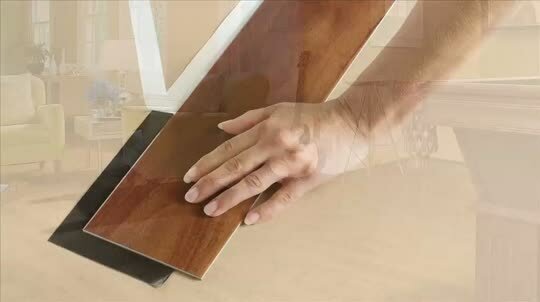
For a DIY cork flooring project, first you need to have a good look at what you are working with. There are available corks that do not need glue or nails to install. It is a simple process but you need to take note of some things before starting. Firstly, though cork flooring is good for most spaces in your house, it can absorb water thus it is not good to install in bathrooms. Secondly, cork expands too so you need to have some kind of a space when installing it. A half inch is probably best to ensure that there is still space when the cork expands.
Next, you may also want to not start immediately with the installation process. Because some manufacturers recommend that you take out all the materials at least three days before installation begins. This is to ensure that the flooring will get used to your surroundings beforehand. Some also suggest applying another coat of finish to the cork flooring when it is done.
DIY Cork Flooring: Laying the Flooring Material
For DIY Cork Flooring Layout, you can choose any pattern you like. But it is best if you lay cork with staggered joints. Firstly, you need to identify any vertical trim that needed to be cut. This is to allow your new flooring to just slide beneath it. If you will install it in the kitchen, determine if you can run the cork under cabinets. If it’s not possible, you can just have a half inch space from it. Do not worry; you can still hide this gap in the last step of the process. After doing this, you can then start laying your flooring one by one. Do not install tile too tight if the moisture level in the environment is low. However, if the level of moisture is high, then you install them close to each other.
DIY Cork Flooring: Final Steps
The final steps in our DIY Cork Flooring Project include installing the molds, trimming, cleaning the floor, and sealing it. If you are using glue to install the cork flooring, allow it to dry for a day before walking on them. And after this stage, you can now then install the moldings. You can now then clean the entire floor using a polyurethane cleaner. If there are adhesives left on the floor surface, you can use a damp rag to remove it. But remember that you should not a mop that is too wet because it will make the joints swell.